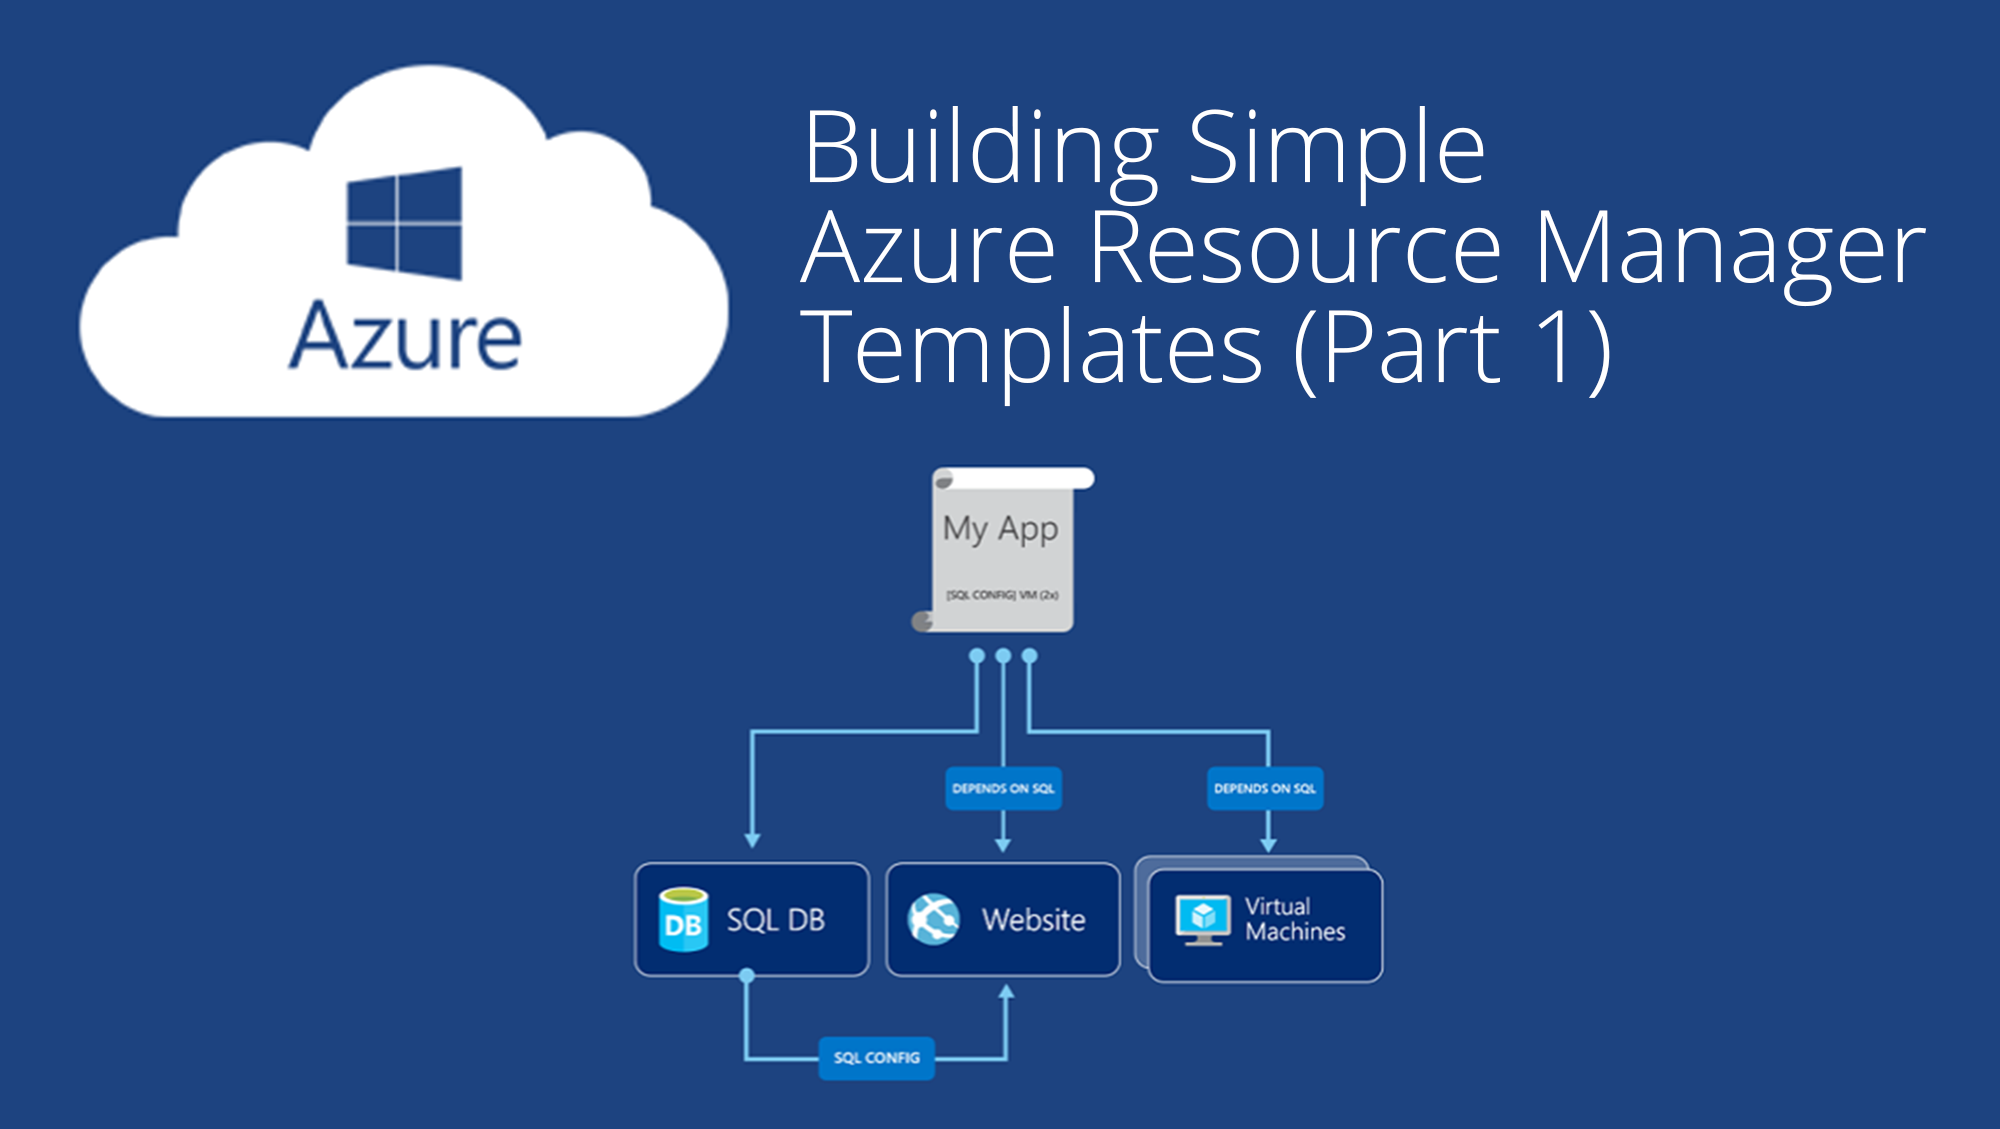
In my last blog post here, I wrote an introduction to Azure Resource Manager (ARM). ARM is the toolset Microsoft has added to Azure for provisioning and controlling resources in Azure.
ARM has the tools to help you develop scriptable virtual machines deployments within your own tenant, but the process is not necessarily as simple as you might think. In this blog post, I’m going to walk through my process of learning to create a simple machine template, and deploying it to my own Azure tenant. Hopefully over time, I will grow this process into a larger project that works for more complex deployments.
The best way to work with ARM templates is going to be using Visual Studio. On the Visual Studio website, you can download the free version called “Visual Studio Community.” This version of Visual Studio will have everything you need to create and manage ARM templates. There many resources on that web page that can help you learn more about Visual Studio, and the ways it can be used. I’m not a Visual Studio expert by any means, but it does make working with ARM templates easier and it’s free, so I highly recommend you download it.
Structure of an ARM template
Your ARM deployment template will contain five main sections: schema, parameters, variables, resources, and outputs. In this article, I will focus primarily on giving you a rough idea of what information goes in each of those sections.
Here is where using Visual Studio really helps you along in your template creation. Visual Studio has “intelligence” that will show you the proper format of your commands, or at least show you when your code is improperly formatted. That ties into the first section we’re going to talk about––schema––because Visual Studio uses that information to help ensure your template is properly formatted.
Microsoft has information on all of the schema options for ARM templates on GitHub. We’ll revisit these as we get into more advanced templates, but for today we’ll use the basic schema.
Below is an empty template you can use to get started with your ARM template. We’ll go through the sections and talk about what goes in each shortly.
{
"$schema": "http://schema.management.azure.com/schemas/2015-01-01/deploymentTemplate.json#",
"contentVersion": "1.0.0.0",
"parameters": {},
"variables": {},
"resources": [],
"outputs": {}
}
I filled in the schema section for you with the basic schema for ARM templates. Otherwise, this is a totally blank and default JSON template.
The content version is simply a version number used for human tracking of this template. It has no technical impact on the template at all.
The parameters section is best explained as a place for things that ARM cannot figure out on its own. Say your template deploys a server, so that server is going to need a name. You would put the server name parameter in this section.
Each parameter needs a name. After then name, the only other required parameter is a type. The type defines what type of parameter this is such as string, Boolean, or array.
In the code block below, I set up several parameters that will be used in the template I’m building. The parameters setup include local Admin account name and password, DNS name for the public IP, Windows Server version, the department that owns this VM, the application is VM is going to run, and the name of the person who deployed this VM.
"parameters": {
"adminUsername": {
"type": "string",
"metadata": {
"description": "Local Admin username for VM."
}
},
"adminPassword": {
"type": "securestring",
"metadata": {
"description": "Password for local admin account."
}
},
"dnsLabelPrefix": {
"type": "string",
"metadata": {
"description": "DNS Name for Public IP used to access the VM."
}
},
"windowsOSVersion": {
"type": "string",
"defaultValue": "2012-R2-Datacenter",
"allowedValues": [
"2012-R2-Datacenter",
"2016-Datacenter"
],
"metadata": {
"description": "The Windows version for the VM."
}
},
"departmentName": {
"type": "string",
"defaultValue": "MyDepartment",
"metadata": {
"description": "Department Tag"
}
},
"applicationName": {
"type": "string",
"defaultValue": "MyApp",
"metadata": {
"description": "Application Tag"
}
},
"createdBy": {
"type": "string",
"defaultValue": "MyName",
"metadata": {
"description": "Created By Tag"
}
}
},
It is also possible to use a separate parameters file for your template, but that is a more advanced option that I’ll talk about in a future blog post.
Variables are more likely bits of information that ARM can work out on its own, with a little help from you. Here is an example of a variable section from a simple template:
"variables": {
"storageAccountName": "[concat(uniquestring(resourceGroup().id), 'satagsvm')]",
"imagePublisher": "MicrosoftWindowsServer",
"imageOffer": "WindowsServer",
"nicName": "SrvNIC",
"addressPrefix": "192.168.1.0/16",
"subnetName": "Subnet1",
"subnetPrefix": "192.168.1.0/24",
"storageAccountType": "Standard_LRS",
"publicIPAddressName": "myPublicIP",
"publicIPAddressType": "Dynamic",
"vmName": "VM1",
"vmSize": "Standard_D1",
"virtualNetworkName": "MyVNET",
"vnetID": "[resourceId('Microsoft.Network/virtualNetworks',variables('virtualNetworkName'))]",
"subnetRef": "[concat(variables('vnetID'),'/subnets/',variables('subnetName'))]",
"apiVersion": "2015-06-15"
},
The resources section is going to be the bulk of your template. This is where we define the resources that we will be working with in ARM. It’s important to note that our resources will be listed inside of brackets, not curly brackets. That’s because the recourse section is an array, but we’ll talk more about that later.
Below is a small sample of a resource section from an ARM template. You’ll notice in this resource section, we’re calling back to variables that were defined above:
"resources": [
{
"type": "Microsoft.Storage/storageAccounts",
"name": "[variables('storageAccountName')]",
"apiVersion": "[variables('apiVersion')]",
"location": "[resourceGroup().location]",
"tags": {
"Department": "[parameters('departmentName')]",
"Application": "[parameters('applicationName')]",
"Created By": "[parameters('createdBy')]"
},
"properties": {
"accountType": "[variables('storageAccountType')]"
}
},
The last section is the outputs section. This section is optional, and we won’t use it in our basic server deployment template.
The Wrap-Up
That’s the basic outline for the structure of an ARM template. Hopefully you have a better idea of what we’re working with, but this still isn't enough information to create your own templates yet. In my next post, I will start diving deeper into each of those sections and talk about the kind of commands that you will need to use. As always, if you have any questions please post them below and I’ll try to work them into the next blog post!