How did you find out about the November 19 Azure AD outage?

Today, Office 365 customers experienced another global outage affected by Azure AD. When did you...


After preparing the AD FS requirements and installing the AD FS Server Role in part 1, this article describes the steps to configure the Active Directory Federation Services for further use and the eventual integration with Office 365.
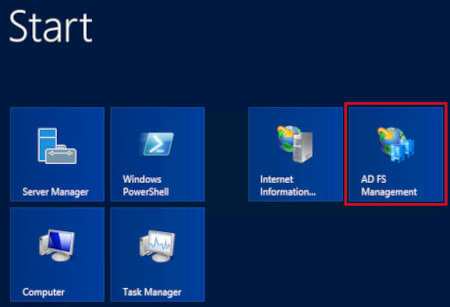
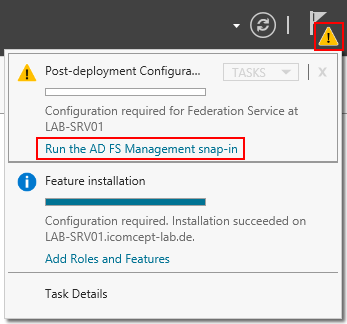
Start the AD FS Management console by selecting the AD FS Management tile on the start screen or be using the link in the Server Manager task list.
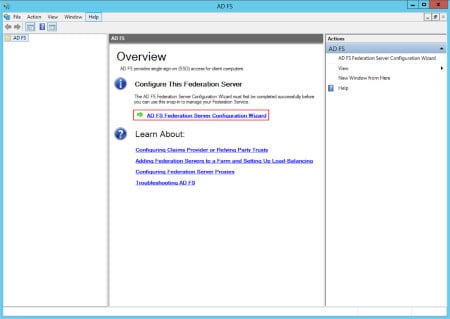
Start the AD FS configuration by using the link AD FS Federation Server Configuration Wizard.
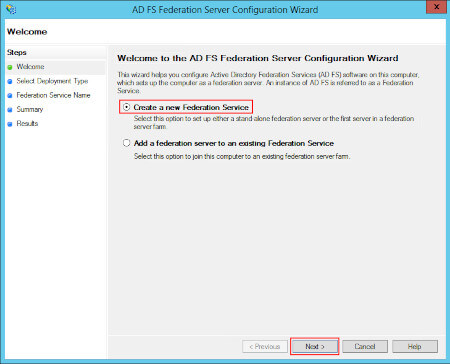
Select Create a new Federation Service and click Next.
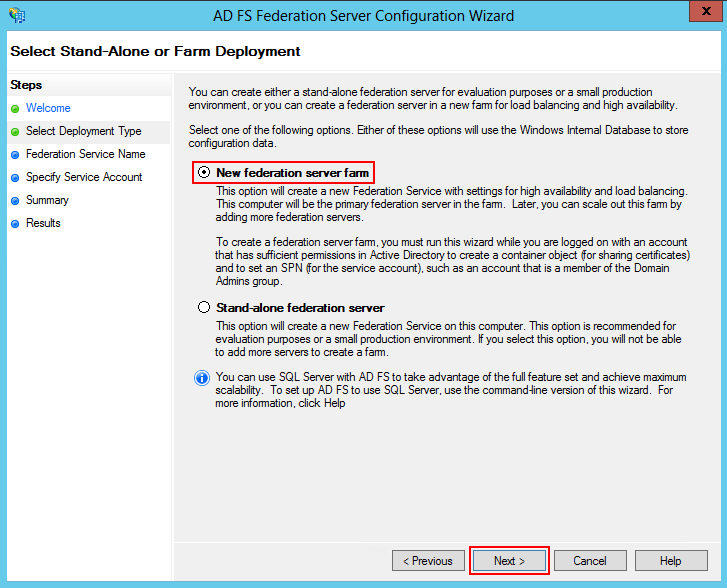
As you will not be able to extend a Stand-alone federation server to an HA farm setup it is highly recommended to create a federation server farm, even with just one server. In this example we are not using a dedicated SQL server.
Select New federation server farm and click Next.
Even though that we have not assigned the SSL certificate, which has been imported in part 1, to the Default Web Site, it is selected automatically by the configuration wizard.
In this example a wildcard certificate has been used. Therefore the wizard enabled the Federation Service name textbox to enter the full qualified domain name (FQDN) for the service name. The FQDN configured must be correctly configured in DNS as well.
Enter the federation service name and click Next.

In the next step the federation server farm service account is configured.
Select the service account, enter the account password and click Next.

Review the configuration summary and click Next to start the configuration.

Verify the configuration results and click Close. Any issues during configuration result in a meaningful description of the issue and will be displayed in the status column of each step.

After finishing the configuration you will notice that the AD FS MMC now shows a Service and a Trust Relationship node.
Now AD FS services is ready for the first trusted relying party.

Verify the certificates configuration by selecting the Certificates node. You’ll notice that the Service Communication uses the imported Third Party certificate. The certificates for Token-decrypting and Token-signing are self-signed certificate by default. This is fine, but you need to keep in mind that self-signed certificates only last for one year. You might change the Token certificates to Third Party certificates as well.

Verify that the AD FS service can be accessed from Internet by querying the AD FS web service using a Browser.
https://[AD FS FQDN]/adfs/fs/federationserverservice.asmx

As an Enterprise you are interested in integrating Office 365 with your AD infrastructure. Previously we have prepared the on-premise infrastructure for federation with Office 365.
Now you can register with Office 365. Choose the Office 365 account name wisely, as it will be used as part of the Office 365 namespace
[OFFICE365ACCOUNTNAME].onmicrosoft.com
This will be the name domain part of the UPN for local Office 365 accounts. You will need to have one Office license for each dedicated user access Office 365. The Office 365 services (Exchange, SharePoint, Lync) can be assigned separately to each user, depending on the license plan.
In the following example we are going to install the Windows Azure Active Directory Module directly on the on-premise AD FS server. During this example the on-premise AD FS will be configured for the use with Office 365.
After you have registered with Office 365 open the Office 365 admin center and select domains.

Select Use your own domain to configure your primary external domain for the use with Office 365 federation.

Continue with the step Specify a domain name and confirm ownership in the basic setup. You will need to have access to the external DNS configuration for this step as you have to create a new DNS resource record to confirm ownership of the domain you specify.

Just enter the domain name you want to add to your Office 365 configuration. It should be noted that you can add more than one domain name, even when you want use just one domain for federation purposes.

The next step provides detailed information about the required DNS configuration for hosting providers and general instructions.

The general instructions provide the information to add a new TXT or MX record to verify your ownership of the domain. The DNS resource record can be deleted after successful verification.

When everything was fine, you can finish this step of the basic setup.

After setting up the new domain in Office 365 we continue to set up users and licenses.

As we want to use AD FS we select I don’t want to add users right now.

This brings us right back to the basic setup where we select Start using your services.

Acknowledge the summary by clicking done.

Now we are ready to configure federation with Office 365. Select users and groups in the Office 365 admin center and click the Set up link right to Single sign-on.

Download the 32-bit or 64-bit version of the Windows Azure Active Directory Module for Windows PowerShell and install the software.

Keep in mind that the Module requires .NET 3.5, which is not installed on Windows 2012 servers by default. Otherwise you will receive an error reminding you to add the feature.


The setup of the Windows Azure Active Directory Module for Windows PowerShell is pretty straight forward.

As a next step we activate the Active Directory synchronization in Office 365. This just enabled the synchronization component. No user is synchronized until DirSync is installed on-premise. Download the DirSync tool, but do not install it yet.


After you have installed the Windows Azure Active Directory Module for Windows PowerShell the on-premise AD FS and Office 365 need to be configured. Be sure that you have verified the external access to your AD FS server.
Open the Windows Azure Active Directory Module for Windows PowerShell console and connect to your Office 365 tenant.
$cred=Get-Credentials
Enter your Office 365 credentials as UPN in the challenge dialog and connect by using the follow cmdlet:
Connect-MsolService –Credential $cred
Set the AD FS context to the server hosting the on-premise AD FS setup. This allows the cmdlets to read and configure the AD FS services running on the given server.
Set-MsolADFSContext –Computer [YOURADFSSERVER]
Verify the configuration status of your domains with
Get-MsolDomain
Convert your domain to a federated domain. This is the major step where all the verification and configuration work is being done.
Convert-MsolDomainToFederated –DomainName [YOURDOMAINNAME]
After federation configuration verify the status of your domains again
Get-MsolDomain

Open the AD FS management console to check the configuration of the Relying Party Trust

You can check the details of the Office 365 federation property using the following cmdlet
Get-MsolFederationProperty –DomainName [YOURDOMAINNAME]
The result shows the external hostnames which will be used to redirect any authentication request. This host should be highly available to avoid any service interruption to your end users.

In the next part we will install and configure DirSync to synchronize the on-premise accounts to Office 365.