Configuring Anti-Affinity in Failover Clusters

Many customers nowadays are running a virtualized Exchange environment, utilizing Database...


Here in Part 5 of this blog series, I will take you through the process of installing Exchange on the first Client Access and Mailbox Server art-MBXCAS-01 – this includes Active Directory and Organization preparation. I will then round off with explaining how you can then go onto complete the installation on the remaining servers.
But a quick recap first: In Part 1 of this blog series, we established our domain design, covered how to provision the Domain Controller for the LAB in Hyper-V and then how to install Windows Server 2012 on the Domain Controller. Part 2 went through the process of installing Active Directory Domain Services on the LAB domain controller using PowerShell. And Part 3 covered how you can install a very simple PKI infrastructure on the domain controller using Active Directory Certificate Services. These will be used in a later part to configure SSL for various parts of Exchange 2013.
And last week we explained how to use PowerShell to provision Exchange server VM’s in the lab, and went through the pre-requisite software installation.
Now in Part 5, I will take you through the process of installing Exchange on the first Client Access and Mailbox Server art-MBXCAS-01 – this includes Active Directory and Organization preparation. I will then round off with explaining how you can then go onto complete the installation on the remaining servers.
Before you begin the setup process ensure that there are no pending reboots from any other installations (for example Windows Update or Role / Feature installations). Failure to do so may result in the following error message being presented within Exchange Setup.
Performing Microsoft Exchange Server Prerequisite Check
Prerequisite Analysis - FAILED
There is a pending reboot from a previous installation of a Windows Server role or feature. Please restart the computer and then run Setup again.
For more information, visit: http://technet.microsoft.com/library(EXCHG.150)/ms.exch.setupreadiness.PendingRebootWindowsComponents.aspx
The Exchange Server setup operation didn't complete. More details can be found in ExchangeSetup.log located in the <SystemDrive>:\ExchangeSetupLogs folder.
Although this is a lab, and if you have been following this guide closely you should already have the required permissions to install Exchange. However for the sake of completeness make sure that the account that you are logged on with has the following permissions:
Schema Admins
Enterprise Admins
Open an elevated command prompt and navigate to the folder (or drive) where you have the Exchange 2013 media located. Then type in the following command line:
setup.exe/prepareAD /OrganizationName:artTest /IAcceptExchangeServerLicenseTerms

This will begin the process of Organizational Preparation. Specifically by using the /prepareAD switch the following is completed (summarised from TechNet http://technet.microsoft.com/en-us/library/bb125224.aspx):
If the Microsoft Exchange container doesn’t exist, this command creates it under CN=Services,CN=Configuration,DC=<root domain>.
Verifies that the schema has been updated and that the organization is up to date by checking the objectVersionproperty in Active Directory. The objectVersion property is in the CN=<your organization>,CN=Microsoft Exchange,CN=Services,CN=Configuration,DC=<domain> container. The objectVersion value for Exchange 2013 is 15449.
Sets the msExchProductId of the Exchange organization object to 15.00.0516.032. The msExchProductId property is in the CN=<your organization>,CN=Microsoft Exchange,CN=Services,CN=Configuration,DC=<domain> container.
If the Exchange Organisation containers don’t exist they are created.
If it doesn’t exist, creates the default Accepted Domains entry, based on the forest root namespace, under CN=Transport Settings,CN=<Organization Name>,CN=Microsoft Exchange,CN=Services,CN=Configuration,DC=<root domain>.
Assigns specific permissions throughout the configuration partition.
Imports the Rights.ldf file. This adds the extended rights required for Exchange to install into Active Directory.
Creates the Microsoft Exchange Security Groups organizational unit (OU) in the root domain of the forest and assigns specific permissions on this OU.
Creates the relevant management groups within the Microsoft Exchange Security Groups OU
Adds the new universal security groups (USGs) that are within the Microsoft Exchange Security Groups OU to the otherWellKnownObjects attribute stored on the CN=Microsoft Exchange,CN=Services,CN=Configuration,DC=<root domain> container.
Creates the Unified Messaging Voice Originator contact in the Microsoft Exchange System Objects container of the root domain.
Prepares the local domain for Exchange 2013.

When the preparation has been completed you will be returned to the administrative command prompt. If you have provisioned more than one domain controller in your LAB – you should wait for Active Directory replication to complete (as the setup process creates a number of schema changes and objects). You don’t have to – but a reboot of the Exchange Server can also be useful at this point.

If you have rebooted, logon to your first Exchange server and open up an Administrative command prompt and navigate back to the location of the Exchange 2013 installation media. This time we are going to install the relevant roles on the Server as per the design that we earmarked in article 1.
Here we are going to use Setup.exe with a number of command line switches (unattended mode):
/Mode:Install – sets the setup program to run in install mode (perhaps that was obvious ~ the other option is uninstall)
/Role:ClientAccess,Mailbox – the two roles that we want to host on the server
/MdbName:GeneralStore – this allows for us to specify a name for the default store that is created during setup, if we don’t include this Exchange will create a generic named store
/DbFilePath:<PathToEdbFile>\General.edb – places the default store in the a different location to the default which is located under the Exchange installation path
/LogFolderPath:<PathToLogs> – places the transaction logs in a different location to the default which is located under the Exchange installation path
So given the above, our (my) command line looks like the following:
Setup.exe /mode:Install /role:ClientAccess,Mailbox /MdbName:GeneralStore /DbFilePath:X:\ExchangeDBs\General\GeneralStore.edb /LogFolderPath:X:\ExchangeLogs\General /IAcceptExchangeServerLicenseTerms

Once you have hit the <Enter> key – Exchange setup will then go away and complete the installation process:

Once Exchange setup has finished, you will be presented with output that should look similar to that below:

It is always a good idea to reboot the server at this point to completely finalize the setup.
When your Exchange Server has rebooted open Internet Explorer on the server and type in the following address:
https://localhost/ecp
You should then be presented with the Exchange Administrative Centre logon screen:

Using the administrator account – provide the logon details on the above screen which should then take you into the Admin Interface. Navigate to Servers (from the option on the left hand side of the screen) and check to see if your server appears as expected. I also recommend that you have a browse around to familiarize yourself with a number of other features that are available within the interface.

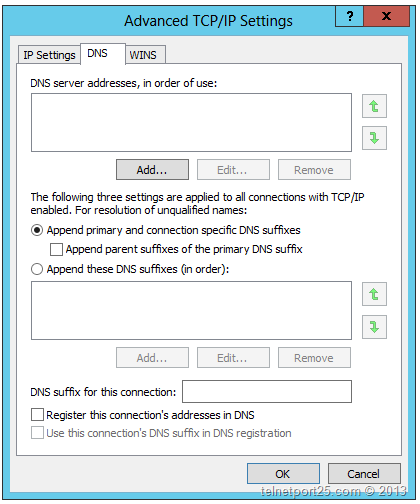
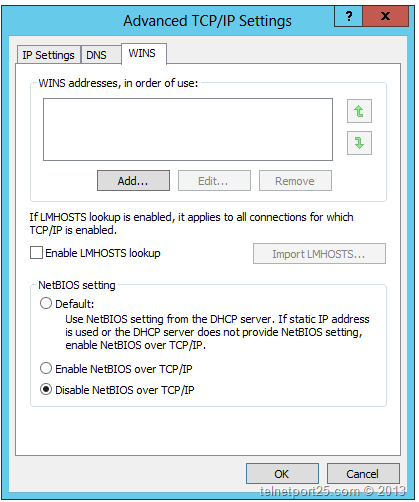
The scripts that we used to provision the Exchange Servers will have created two network adapters. One of the adapters is used for Public Network communications (Clients etc.) and the other is used as the replication interface (this is marked on the diagram and the 10.0.0.x address into the private V-Switch. I recommend that you rename the interfaces on your LAB servers so that their purposes are marked.

Assign the replication interface (on art-MBXCAS-01) the relevant private IP address range that you have assigned within your own LAB environment. In mine I have used the following:
IP Address = 10.0.0.1
Mask = 255.255.252.0
You should also configure you settings on this replication interface to match the following Advanced configuration items on the following tabs:
You we are now in a position to install Exchange on the remaining servers within the infrastructure – at this point our LAB should look like the following:

We should have the following servers left to install Exchange 2013 on:
art-MBXCAS-02
You should follow the exact same process that has been provided in this article, with the following changes:
setup.exe/prepareAD /OrganizationName:artTest /IAcceptExchangeServerLicenseTerms
Setup.exe /mode:Install /role:ClientAccess,Mailbox /MdbName:GeneralStore02 /DbFilePath:X:\ExchangeDBs\General02\GeneralStore02.edb /LogFolderPath:X:\ExchangeLogs\General02 /IAcceptExchangeServerLicenseTerms
When you configure the replication interface on art-MBXCAS-02 you should provide the next available address in your private range, for example in my LAB this is:
Again, you should follow the exact same processes that have been described in this article – only with the following changes:
setup.exe/prepareAD /OrganizationName:artTest /IAcceptExchangeServerLicenseTerms
Setup.exe /mode:Install /role:Mailbox /MdbName:GeneralStore03 /DbFilePath:X:\ExchangeDBs\General03\GeneralStore03.edb /LogFolderPath:X:\ExchangeLogs\General03 /IAcceptExchangeServerLicenseTerms
This will ensure that only the Mailbox role is installed.
When you configure the replication interface on art-MBX-01 you should provide the next available address in your private range, for example in my LAB this is:
Configuring the Database Availability Groups for the LAB.