Exchange 2013 Lab Tutorial: Part 1 - AD Setup

Times change, people change – and as well all know, technology changes as well. The last part of...


In this, Part 4 of this ENow blog series, I will take you through the provisioning of your Exchange Servers in Hyper-V, summarizing the install of Windows Server 2012 Data Centre (as we have covered the step by step install of Windows 2012 in the first part), and finally installing the prerequisites for Exchange 2013 on Windows Servers 2012.
In previous ENow blog posts, we've discussed several things:
And now, let's discuss provisioning Exchange servers.
In part 1 of the series we took you through manually using the Hyper-V manager to provision the domain controller. In this part I would like to show you how you can use the Hyper-V module in Powershell to query settings in a CSV file and create your Virtual Machines using a very simple PowerShell script.
The script and CSV file:
The following is the simple script that I have written which takes input from a CSV file (more details on this later) and creates the Virtual Machines as per the configuration data from the source file.

docs/Sample Source Grogan 4.1.docx (you'll need to convert this into a CSV File)
Like with all the scripts that have been provided in this series – you need to ensure that before you try to run them – you have the correct execution policy configured (RemoteSigned).
Copy the script and your CSV file to a location on your Hyper-V server, open a Powershell command prompt and use the following command line:
![]()
The script will then go away and provision your machines.

If you then review the Hyper-V manager – you will see your new VM are now present:
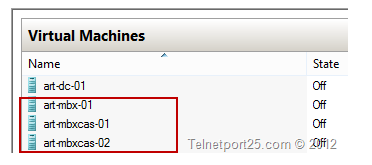
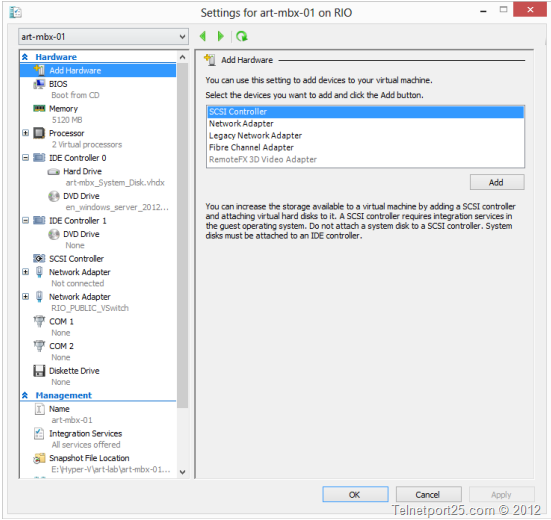
If you check the properties of any one of the VMs you will see that they have been configured as per the settings in the CSV file.
You are now in a position to Power the VM’s on and being the process of installing Windows Server 2012 Data Centre.
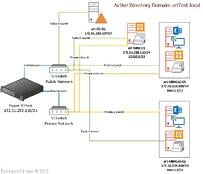
In the first part of this series I did a detailed overview of installing Windows Server 2012 – therefore I will not be covering that again. Where you should pick the configuration up again in this post is after you have renamed the computer, configured the relevant IP settings and joined the machine to the art-test domain and installed relevant Windows Updates.
The first machine that we will build will be art-mbxcas-01 – which will be our first Mailbox / CAS and HT server.
What I will cover here is installing both the Operating System Pre-Requisites and supporting components required for a successful installation of Exchange 2013 on Windows Server 2012.
On your Exchange Server – open a Powershell command prompt then enter in:
![]()
Then Enter:
![]()
Then copy and paste the following code:
Install-WindowsFeature AS-HTTP-Activation, Desktop-Experience, NET-Framework-45-Features, RPC-over-HTTP-proxy, RSAT-Clustering, RSAT-Clustering-CmdInterface, Web-Mgmt-Console, WAS-Process-Model, Web-Asp-Net45, Web-Basic-Auth, Web-Client-Auth, Web-Digest-Auth, Web-Dir-Browsing, Web-Dyn-Compression, Web-Http-Errors, Web-Http-Logging, Web-Http-Redirect, Web-Http-Tracing, Web-ISAPI-Ext, Web-ISAPI-Filter, Web-Lgcy-Mgmt-Console, Web-Metabase, Web-Mgmt-Console, Web-Mgmt-Service, Web-Net-Ext45, Web-Request-Monitor, Web-Server, Web-Stat-Compression, Web-Static-Content, Web-Windows-Auth, Web-WMI, Windows-Identity-Foundation
You will then need to restart the computer – you can do this by typing:
![]()
Within the Powershell command window.
In order to successfully install Exchange Server on the VM – you will need to install some supporting software which is required in order for it to function correctly.
You will need to download each of the following to a location on your Exchange VM:
1. Microsoft Unified Communications Managed API 4.0, Core Runtime 64-bit
2. Microsoft Office 2010 Filter Pack 64 bit
3. Microsoft Office 2010 Filter Pack SP1 64 bit
You will then need to install them.
As per Microsoft:
Unified Communications Managed API (UCMA) 4.0 is a managed-code platform that developers use to build applications that provide access to and control over Microsoft Enhanced Presence information, instant messaging, telephone and video calls, and audio/video conferencing.
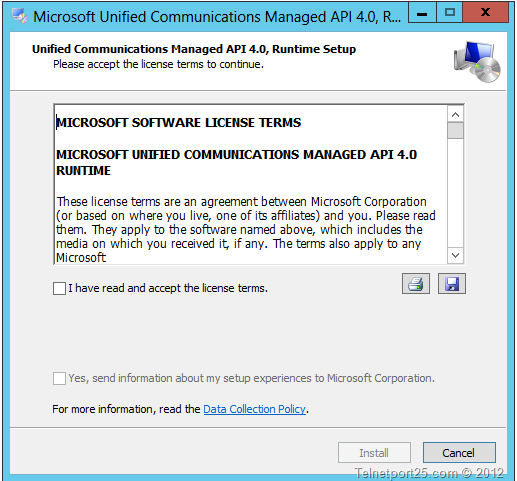
Double click on the Setup installer for the MUCM API which will begin by showing you the following introduction screen.
You will then be presented with the following welcome screen which explains the actions that the installer intends to perform on your server. When you are ready click on the “Next” button.

Accept the licensing agreement by checking the “I have read and accept the license terms” then click on the “Install” button.
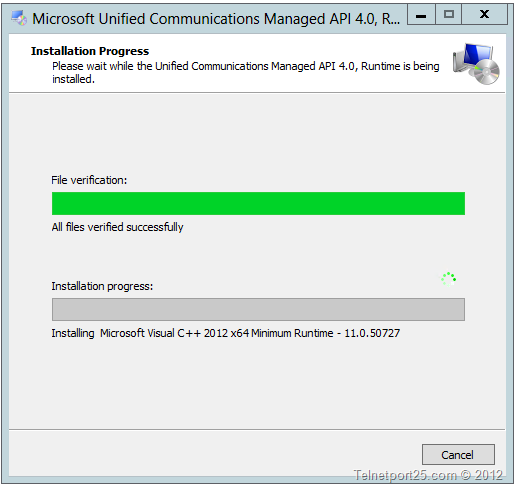
The setup process will then install the required components on your server.
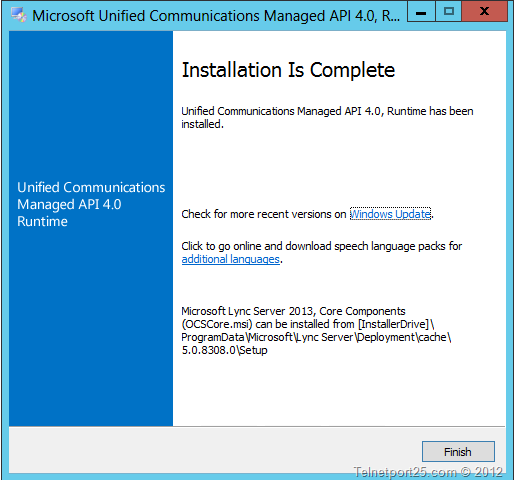
Set will then complete – click on the “Finish” button.
As per Microsoft:
The Microsoft Filter Pack is a single point-of-distribution for Office IFilters. IFilters are components that allow search services to index content of specific file types, letting you search for content in those files. They are intended for use with Microsoft Search Services (SharePoint, SQL, Exchange, Windows Search).
Install this product if you want to search for content in the file types listed below.
The Filter Pack includes:
Legacy Office Filter (97-2003; .doc, .ppt, .xls)
Metro Office Filter (2007; .docx, .pptx, .xlsx)
Zip Filter
OneNote filter
Visio Filter
Publisher Filter
Open Document Format Filter
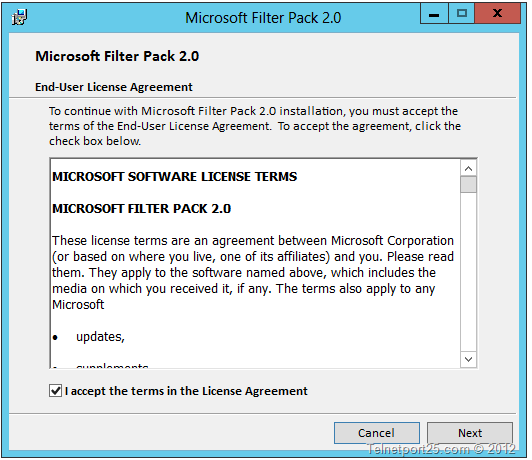
Double click on the Microsoft Office Filter pack installer – you will be presented with the following welcome screen, when you are ready click on the “Next” button.

Accept the licensing agreement by checking the “I accept the terms in the licensing agreement” check box. When you are done click on the “Next” button.
The setup process will then install the required files on your Exchange Server.
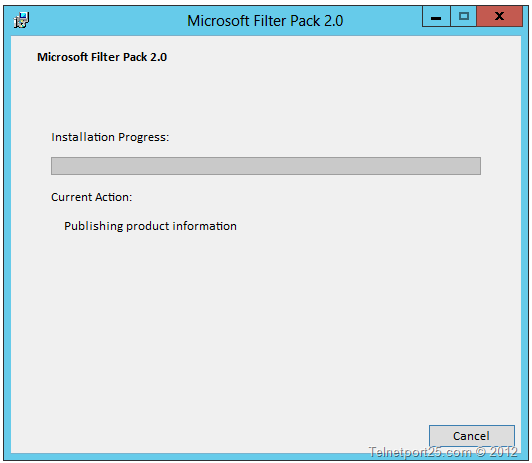
When setup is completed – you will be presented with the following dialog box – click on the “OK” button to finish.
You will then need to install Service Pack 1 for the Microsoft Office filter pack. Double click on the Service Pack 1 setup file. You will then be presented with the introduction screen – click on the “Continue” button when ready.

Setup of Service Pack 1 for the Office 2.0 filter packs is very quick – when it has been completed you will be presented with the following dialog box – click on the “ OK” button when setup has completed.
You will now need to repeat the above setups on the remaining two servers: art-mbxcas-02 and art-mbx-01